I recently upgraded my version of VirtualBox on Linux Mint 18.3, to a newer version 5.2.14. On this VirtualBox, I run another Linux Distro Ubuntu 17.04 as a Virtual Machine. Before the upgrade, everything worked great, after not so much.
Ok, I think we need a bit of history here, you’re probably asking yourself, “Why is he running Ubuntu in a Virtual on top of Linux?” Obviously, there are many reasons why this is done, from testing Linux Distros to running specific environments for some other reason. My reason is simple, this particular Ubuntu Virtual Machine used to be a physical PC. The hardware on the PC went south but the hard drive still worked, and because that Ubuntu installation has my Let’s Encrypt setup, I did not want to lose the hard work I put into that machine.
Instead of starting over, I used Clonezilla to create a disk image of the hard disk, take that image and then turn it into a virtual machine.
This kept my entire setup intact.
Now, back to the present time… So, I recently upgraded VirtualBox to v5.2.14 and after doing so my Ubuntu Virtual Machine would no longer automatically connect the LAN Connection or receive a DHCP address. I’m a CLI guy, as much as I love a GUI, I almost always use the Terminal first.
I installed the Guest Additions, and while the tools installed successfully, the Guest Additions made no difference. I attempted to change the Adapter Type, from what it was, “Intel Pro/1000” to “PCnet-FAST III”, again no difference.

So, I took to the internet to find a solution to my issue, especially since I had a few SSL certificates that were about to expire, and I needed to renew them. Let’s encrypt was needed. Sure, I could have installed Let’s Encrypt elsewhere and be done with it, but I really wanted this to work!
I found a useful thread that provided some commands that helped me to enable the connection and get a DHCP address, the first displayed information about the connection:
lshw -C network
Note: I noticed that on my output it did not show that networking was DISABLED, but I tried the second command anyway.
The second command enabled the connection (so it seemed):
ifconfig enp0s17 up
The third command requested a DHCP address:
dhclient enp0s17 -v
This was great, it worked, and my Ubuntu Virtual Machine was back on the network, but then I restarted Ubuntu and after the restart no network connection again!
I then found another thread that suggested changing the “10-globally-managed-devices.conf” to fix the Network not starting after a reboot.
I tried it, again – no go after a reboot!
From this, I did learn that my network connection was enabled all along, which is why the command “lshw -C network” didn’t display a DISABLED next to the network connection information. Also, I realized that what was happening was that my network connection was not performing a DHCP request.
That’s when I opened the Wired Connections settings panel and started checking the settings.
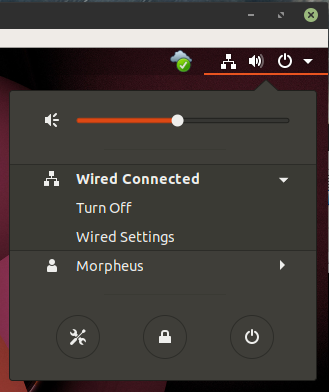
Lo and behold, what do I find in the GUI interface under the IPv4 Tab, but IPv4 Method set to “Disable” meaning DHCP was disabled! DUH…
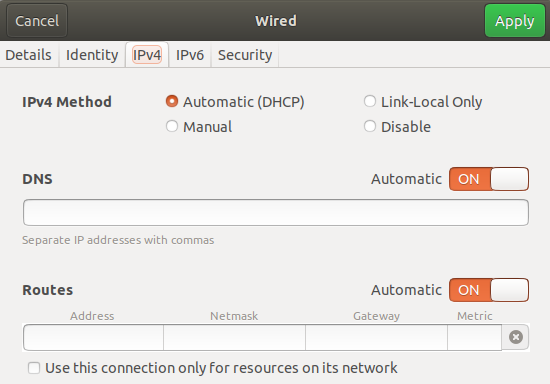
I selected “Automatic (DHCP)” as it should be set, and BAM my network connection came alive!!!!
Not sure why the upgrade to VirtualBox disabled this setting or if that is even the case, but in the event, you are experiencing the exact same issue on a Linux Virtual Machine and you are pulling your hair out trying to determine what the issue is, start with the network connections panel and check the IPv4 Tab.
It may just be as simple as a DHCP setting being disabled!